Monday, December 24, 2012

On the Workbench

Welcome

First off, I have been remiss in welcoming my new readers. Welcome to Maverick Collecting, Scott B. Lesch, Foss1066, Dan, el frances, littlejohn, Mark Burgess, David Crook, SA ROE, Mr. Monkeytail, and Hammster Chomiczewski! I hope you enjoy the articles and, although a blog is not much of a medium for discussion, I hope you post comments and suggest future topics.

Resources

Some new blogs out there that have caught my eye (and are related to this): Little People Go to War, Go! Game Labs, Beighton's Shipyard, and the Skull and Crown (of the famous Wooden Wars project). You really need to check these out.

Of course, blogs I have highlighted before (or think I have ...) are: Toy Making Dad, John Acar's Craftee section, and the Penny Whistle's clothespin work. Again, good ideas and inspiration.

Last but not least, join up on the Wargaming on a Budget forum on Yahoo. There are a lot of like-minded people there. Not always wood-oriented (paper does not count!), but still good information.

New Goodies

I found out that there is a Woodcraft store in Tucson, about 80 miles away from me, so I went and visited it, hoping to pick up a Proxxon jig saw. No luck. They don't carry Proxxon anymore, but could order it. I can get it on Amazon cheaply, so I passed. I did, however, pick up rotary drill bits for sanding and power carving (i.e. carving with Dremel type tools). A total of 120 bits (four sets of 30 bits, each of a different grit level) for $32.00. I was happy. All kinds of shapes and sizes, so I will have some fun experimenting with them.

Leibster Award(s)

Update: I forgot to mention that this blog was nominated for Leibster Awards by John's Wargames and Kingdom of Katzenstein. Thanks guys, I really appreciate it. I highly recommend that readers check out these blogs and the others that I have mentioned above. My Dale's Wargames blog was also nominated and I pointed out some blogs to read there too. That said, the goal of the Leibster Awards is to point people to some of the less traveled blogs, and I hope I have done that here.

On the Workbench

I have a number of projects going simultaneously, mostly because I suffer from distraction. Starting in the workshop, where the cutting, sanding, and gluing goes on.

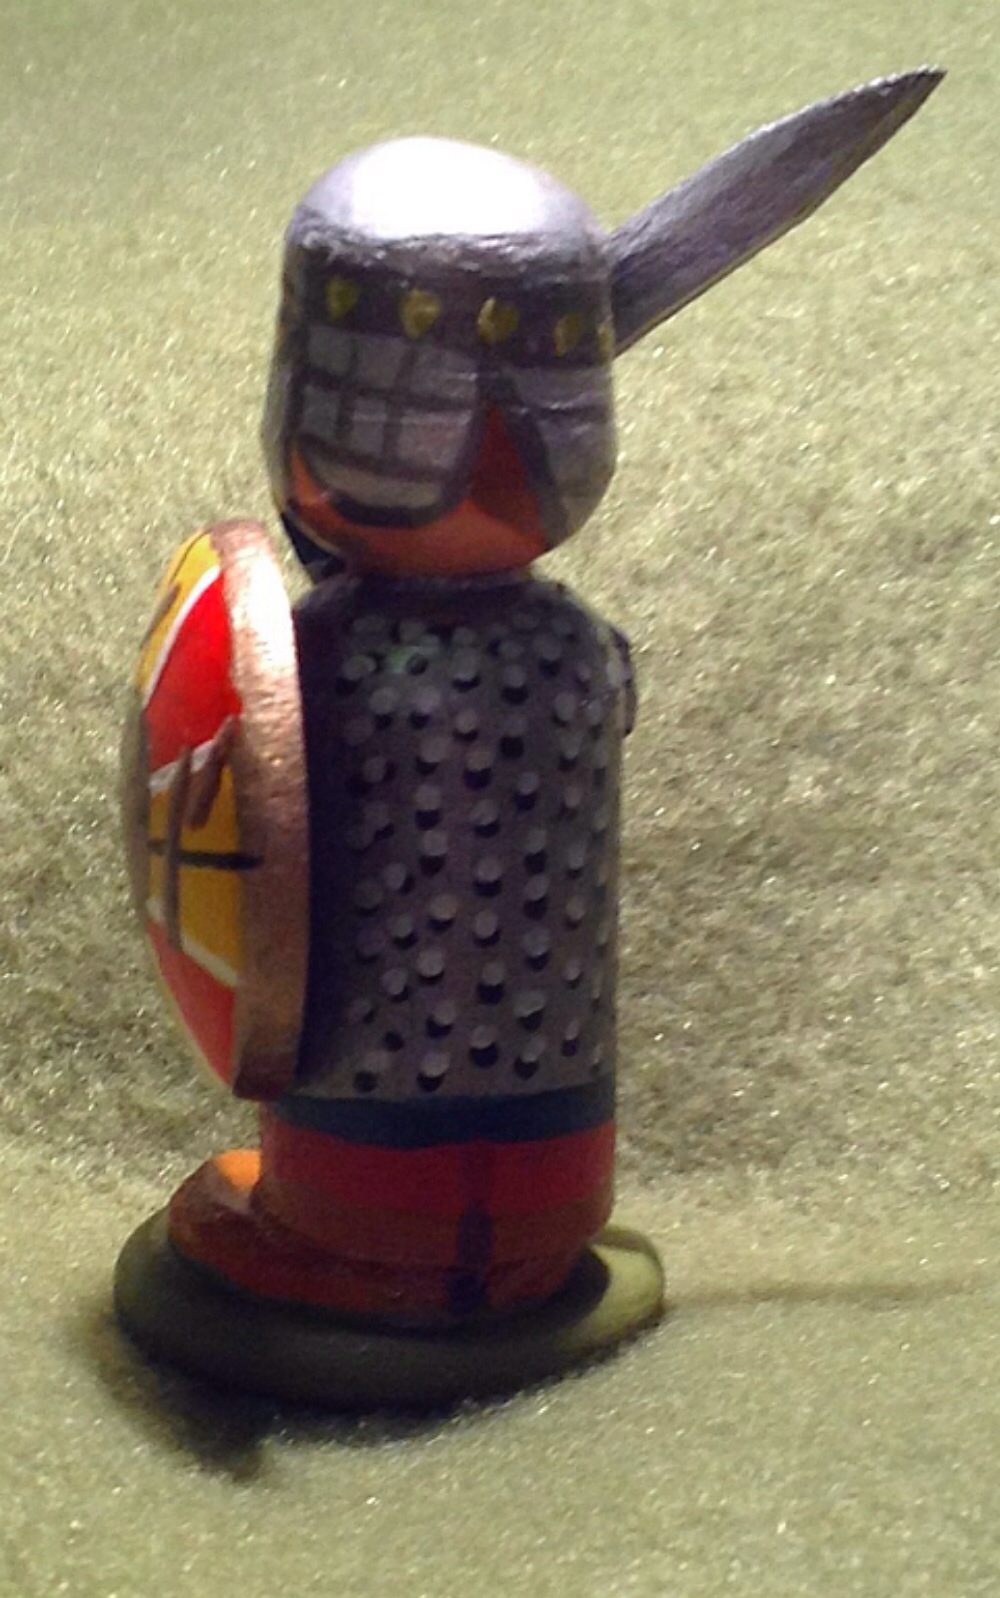
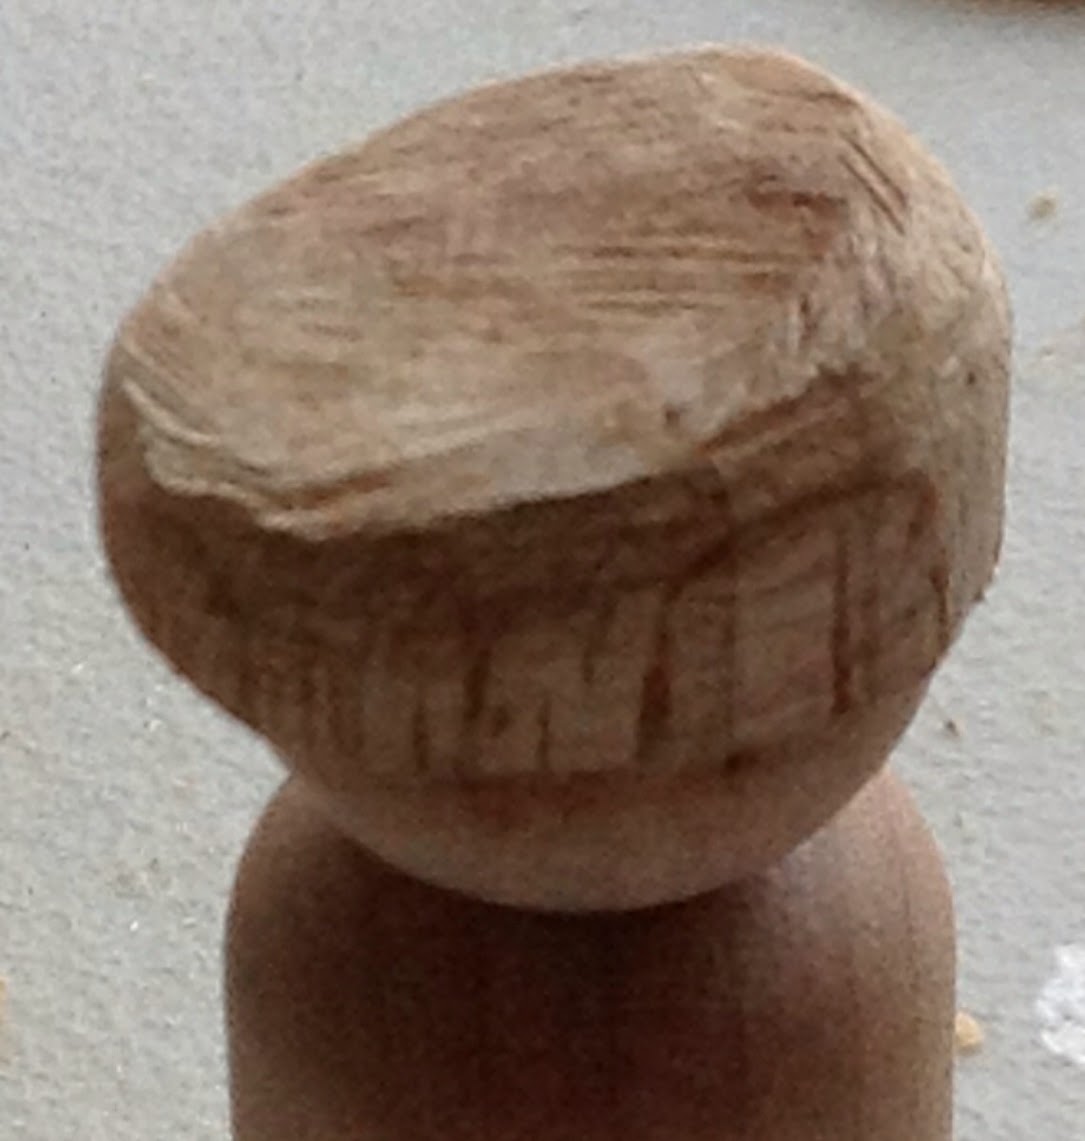
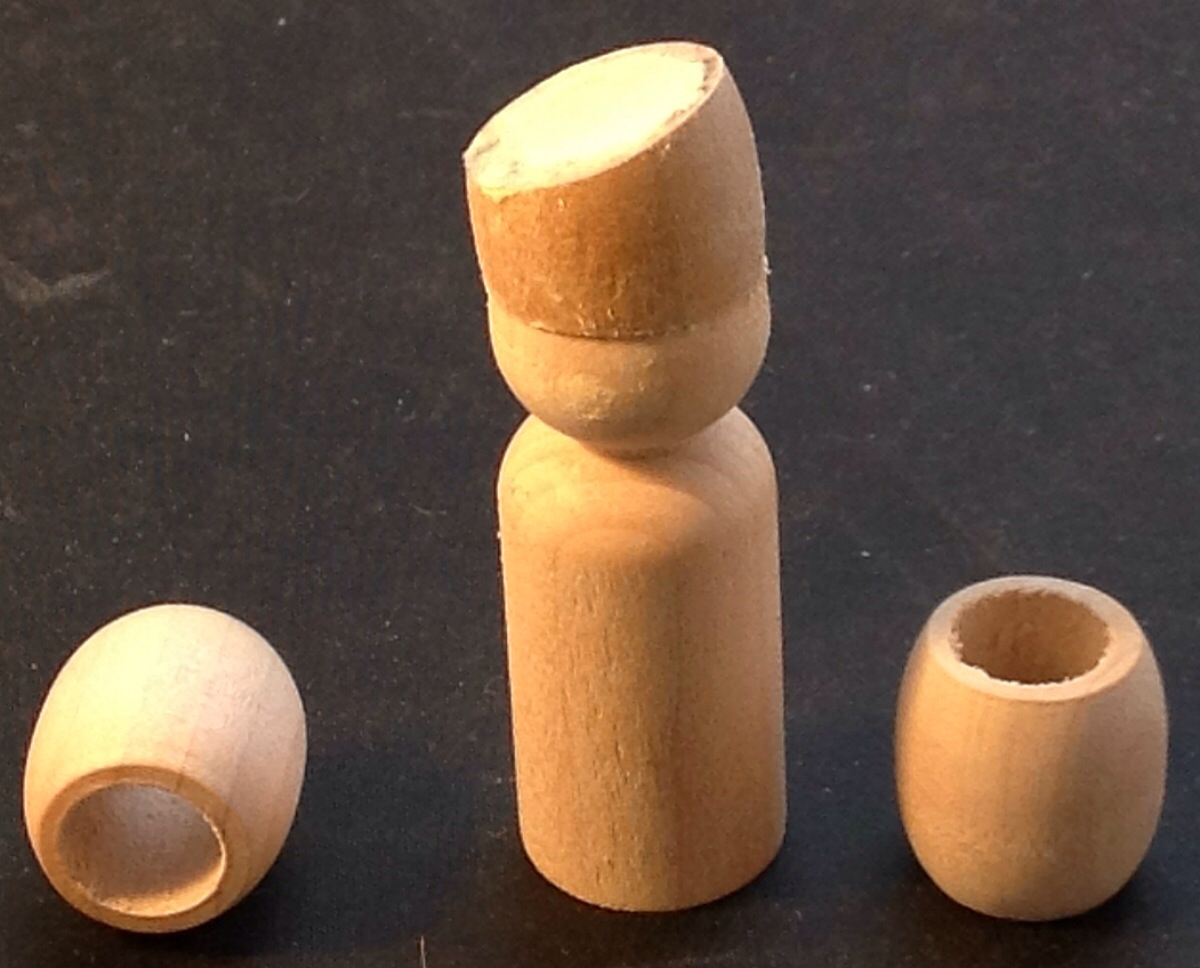
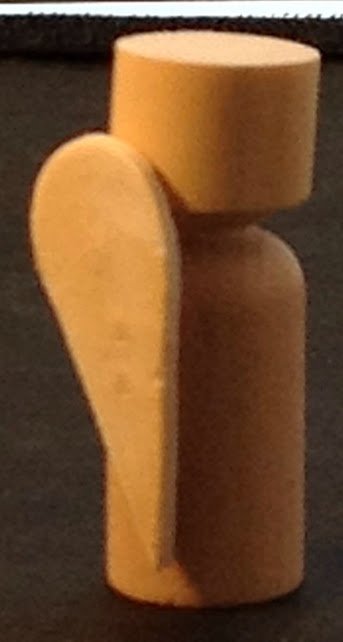
My fascination with the miniature rules Saga has got me making a Dark Ages army (or three). I am starting off with the Anglo-Danish. Still being built are the Warriors, which will have spears and shields. Right now I have finished the basic helmet shape and am using heavily-thinned wood filler to try and smooth out the curves.


The horses are for an upcoming Welsh army. I will have the Hearthguard mounted.

I always keep a couple of sets of spare arms and feet, just in case I want to do some experimentation. (I sound like Dr. Frankenstein!)


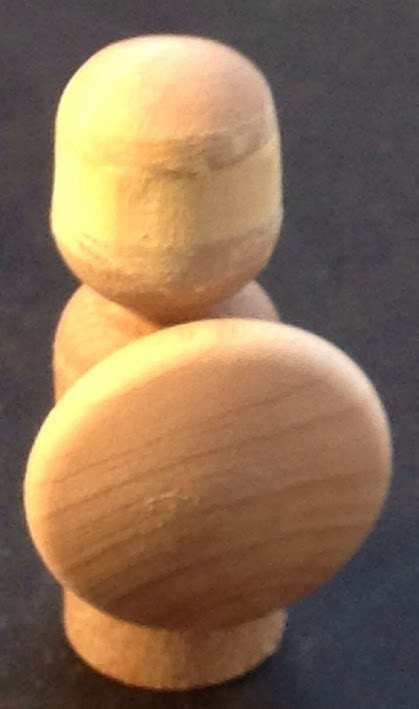
I have had these Napoleonic cavalry – British Light Dragoons and a mounted British Officer – for a long time now. As I decided that I liked the new style of horse (with a spool as the neck), I broke apart the unfinished models and re-worked them. Wait until I do that with fully painted models ...

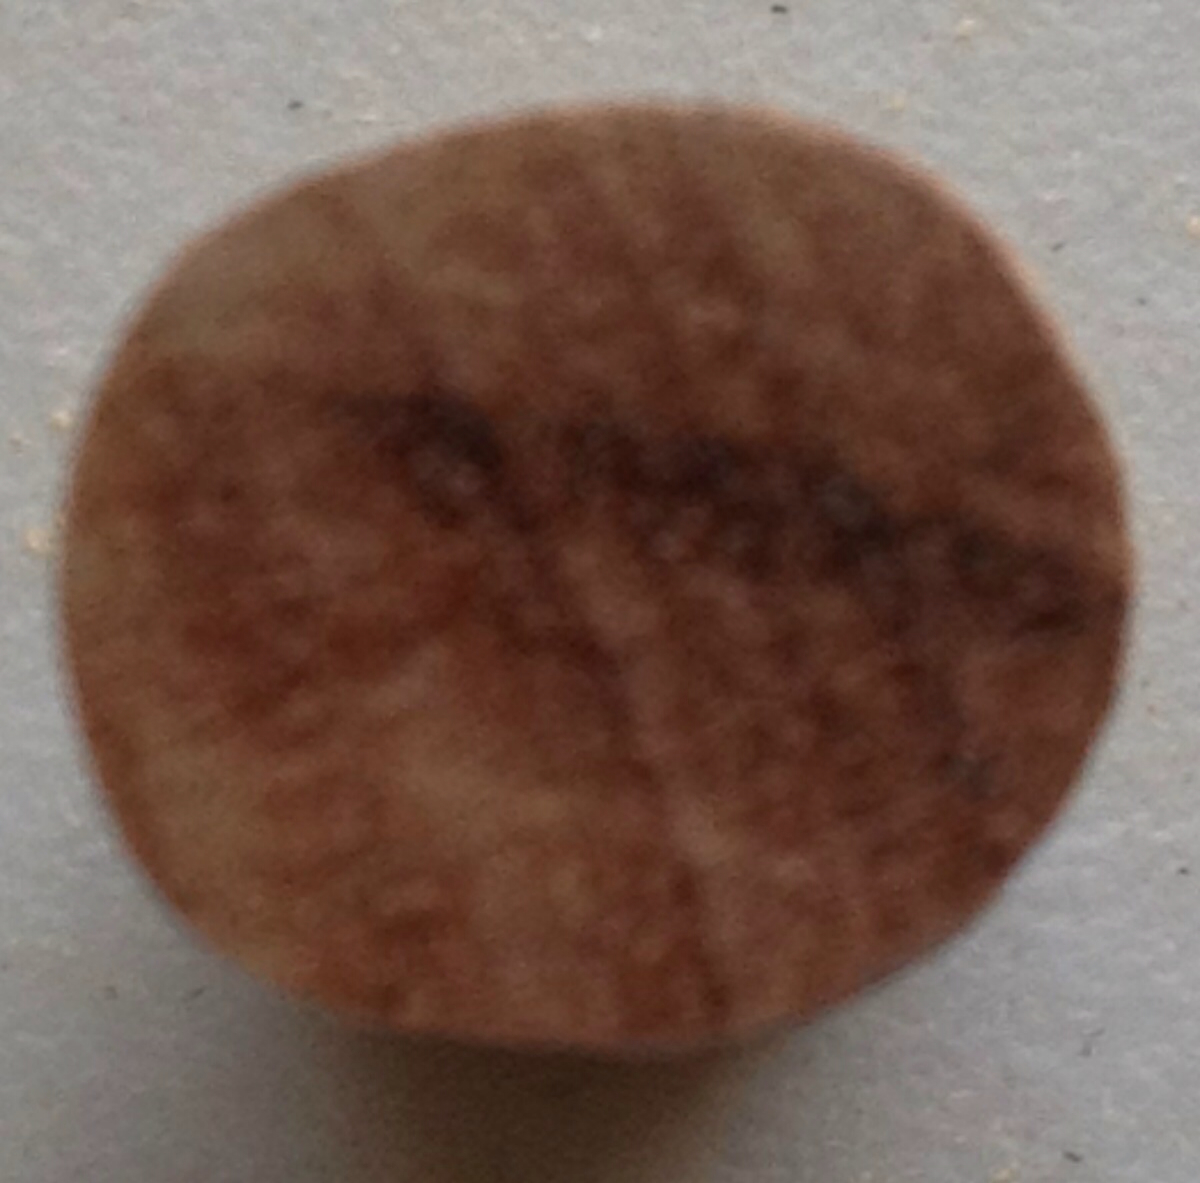
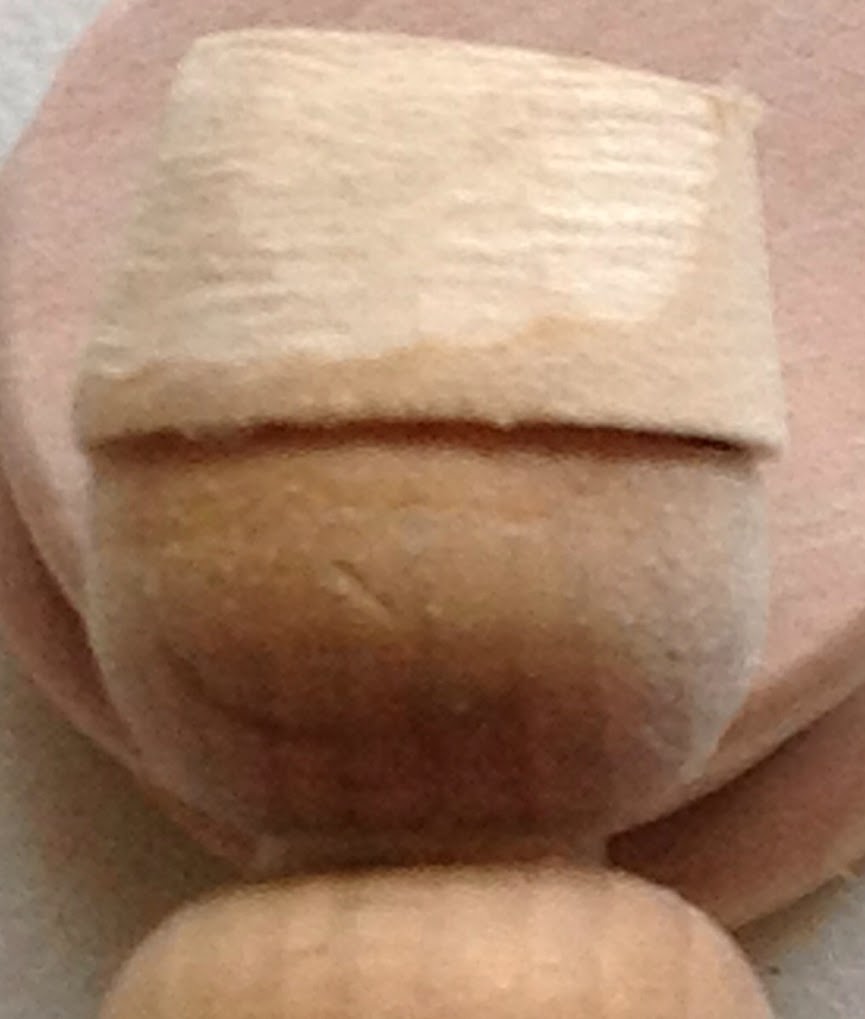
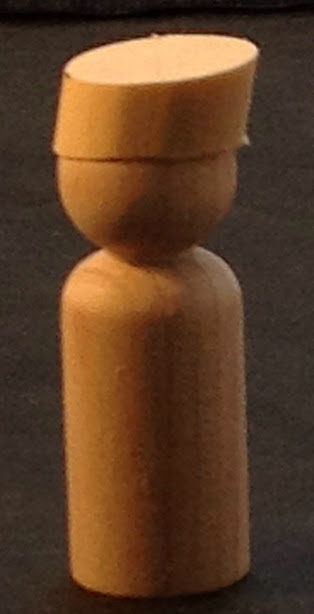
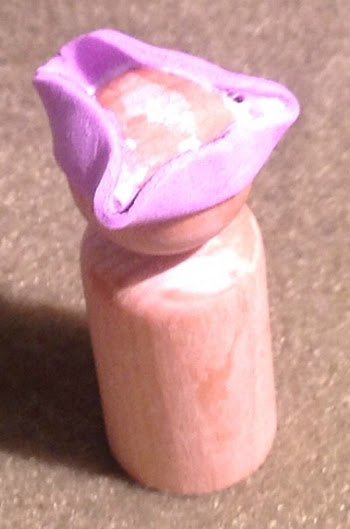
I accidentally left my wood filler out with the lid not fully closed, causing it to dry up badly. I was about to chuck it into the trash, but decided to look up on the internet and see if there was a way of bring it back. It turns out that Elmers recommends you simply put water into it and stir, stir, stir. I put a little too much and it came out thin. I started experimenting a bit with the thinned wood filler and found that I could use it like "Green Stuff" putty and "sculpt" limited shapes, like beards and long hair. Here I have decided to dip the heads into the wood filler and build up a helmet or cap. As this experiment progresses, I will keep you updated.


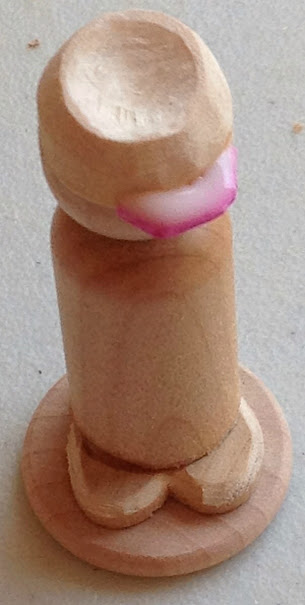
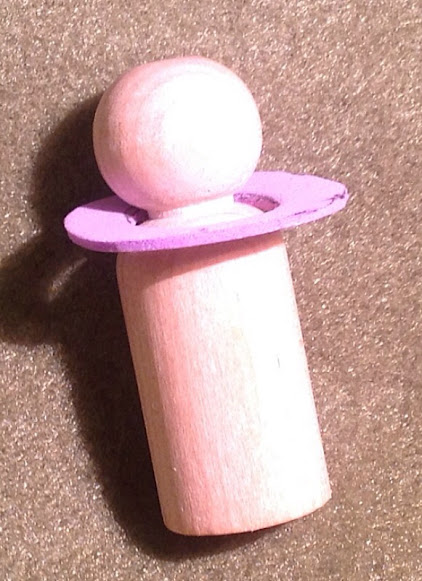
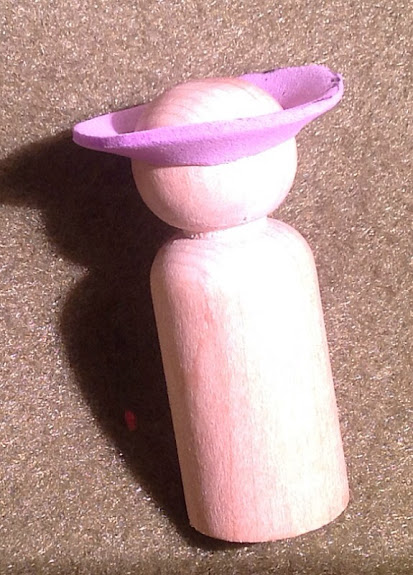
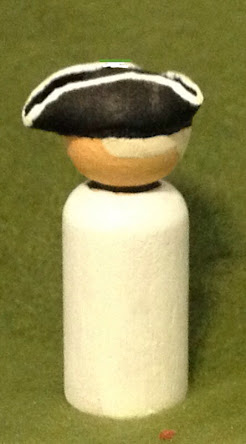
When I was doing the hat experiments (in a previous blog article), I had not finished them, especially with regards to the peaks of the caps. Here are some of the previous experiments, along with two new Knightly experiments (on the right).


I wanted to experiment with sheet foam to make pelisses for hussars, so I needed to make some basic hussar figures first. Here they are, but no pelisses. (See, this is what happens when you get distracted by new projects before the old ones are done.)


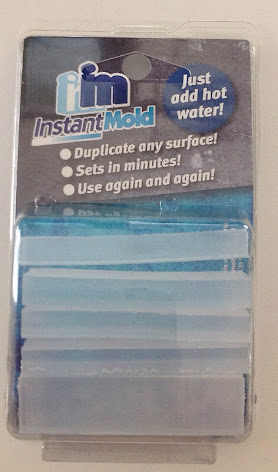
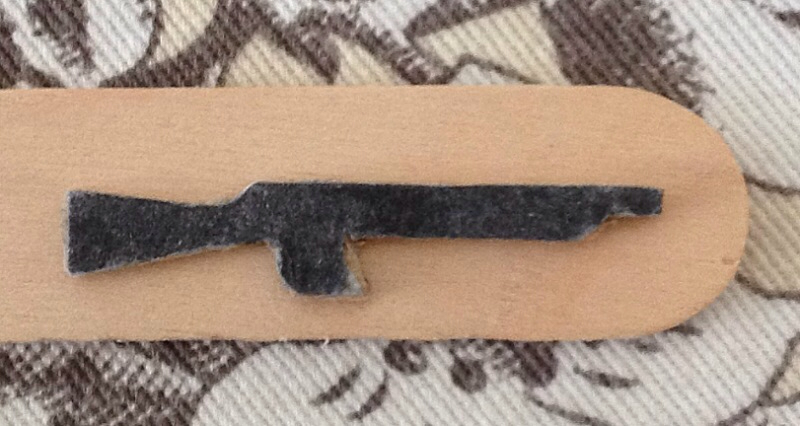
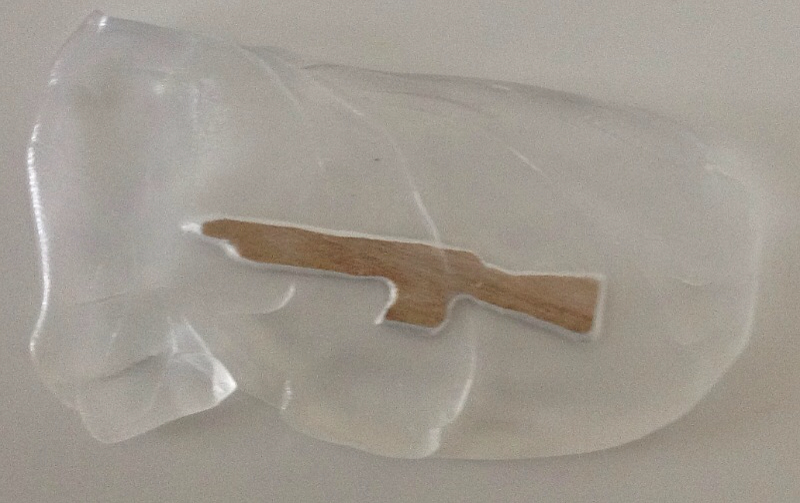
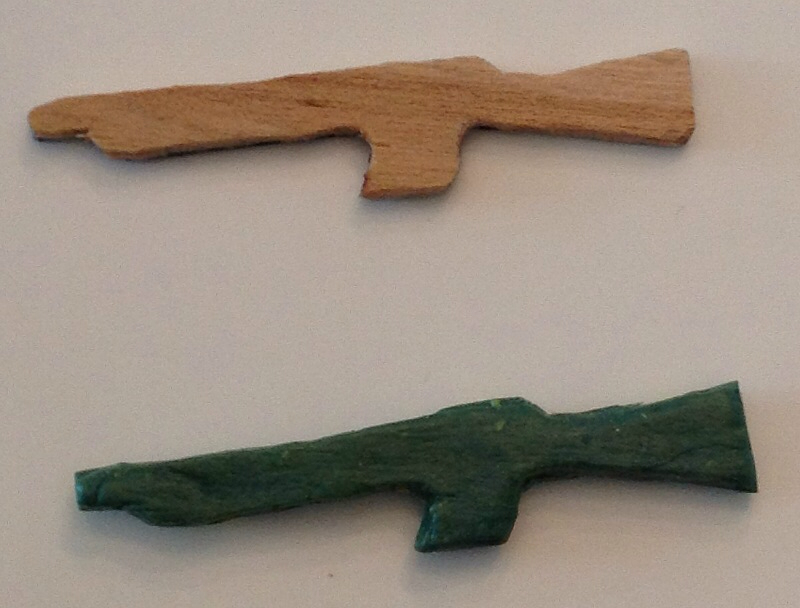
This picture came out a little dark, but it is the modern African soldier in a beret (hat experiments), with an AK-47 (Insta-Mold experiment to make small accessories), I like the camo, but it was tedious to paint. I am not sure I could do a whole squad of them, all in one go.


I played a big game of Napoleonics (skirmish) and it inspired me to start painting these Prussian Jagers hat I built six months ago. The officer is a little red faced because I seem to have misplaced one of the painted soldiers, but found two others that I forgot to paint with the others!


Here are the Levy bowmen of the Anglo-Danish army I am building for Saga. The bows were power-sanded from spare bits of wood. They are starting to come together.


These are my current pride and joy! The Anglo-Danish huscarls with 2-handed axes were just plain fun to put together. Axe heads and arms are made of foam. I glued the arms to the axe handles and once dry, glued the arms to the body. Once that was dry I rubbed super glue (Gorilla Glue Super Glue, of course) into the foam and then pinned the arms and axe handle into the position I wanted. Once the super glue was dry the pose stayed put. I then glued on the axe heads.

You can see the Anglo-Danish Warlord, with his Danish axe, started on the lower left. Using sheet foam and zig-zag cutting scissors I created a horse tail plume for his helmet.


Well, that is it for now. Hope you like the sneak peek at the projects to come.

Tuesday, November 27, 2012

French Napoleonic Carabinier (1807)

This is why I paint Napoleonics. It is because of uniforms like this. I first saw a picture of the 1807 French Napoleonics Carabiniers in a copy of a Funcken uniform book and I always wanted to paint it, but I never got around to it … until now that is. Granted, it is not an entire regiment, but these four guys will run roughshod over many an enemy in a game of Drums and Shakos.

Click on any images to enlarge.


There are actually a lot of new changes to how I build figures in these models. Although the horses still have a "camel head" look (I need a split egg size between this and the one I use for 25mm horses), I think they look much better using a small thread spool for the neck. The image below shows the spool in better detail.


Also, you can see the new sabers, made entirely from foam. They flex a lot, but they won't break!

I had never really been happy with the horses' hair. I had tried modeling material to make a mane, tail, and ears, and they material was hard to control (as it expanded when it dried) and very fragile. I've replaced all of that with foam sheet.

In #1 you can see the tail, cut from a brown piece of foam sheet. I used alligator teeth scissors to cut the shape, then scrapbooking scissors to "bevel" the edges a bit. #2 was done the same way, except that you can see I made the hair from three separate pieces of foam sheet. By layering two pieces I got a taller mane. In #3 you can see a variation of that mane. Also, you can see that the ears were cut out and simply glued to the back of the split egg. When looking closely at the detail it does look a little strange, but at arms length I think it looks pretty good.


These are the alligator scissors. You can find them in any scrapbooking section of craft stores. There are all sorts of shapes and designs to the teeth. I used these in my Troglodyte experiments.


The image below show some of the detail of the rider. In #1 you can see I put a lot of detail into the uniform. It was later (after I finished, but before I painted the buttons on) that I realized that you will never see that detail when the rider is mounted on the horse! #2 shows the detail of the saber. This time I cut the arm and the saber from foam sheet separately, then glued them together. Next time, it will all be one piece. (Live and learn!) #3 shows the legs of the rider made from foam sheet. As the rider is a shortened pawn sitting atop the spool horse, I needed legs to extend past the end of the pawn and around the spool. In the past that was wood; now it is foam sheet, which follows the curve of the spool much better. Finally #4 shows a change from previous figures. I used to model the epaulettes with wood and modeling material. Now I do not even model them at all. When viewed from the side, painting the epaulette with a dark color, then detail with a light color gives the illusion of depth, and looks fine. (#1 shows what it looks like from the front, if you look really hard.)


It is interesting that building and painting these figures – especially the more complex uniforms or the cavalry – takes a long time overall, but that is largely because there are a lot of steps and I have a tendency to do several projects all at once (building 20+ figures at a time). In a way you don't really have much interest in the figures at the start. They are simple shapes, and although you can see the potential, they are not really exciting. Then you come back to it, add a bearskin and a plume and get a little more excited. You can start to see it. They you start adding basic paint and get a little more excited. It is when you start reaching the end that you start to see the figure. You want to finish quickly, but for me, I just want to keep adding detail. Finally, it is done and you paint the bases, photograph and then blog them, chomping at the bit to go play a game with them. But, you look over at that table with the other 16+ unfinished figures, and see even more potential just waiting.

I hope you enjoy looking at them; I really enjoyed making and painting them to show them off.

Sunday, November 25, 2012

Dark Ages Warlord in Sutton Hoo Helmet

I finally finished my Dark Ages Warlord. You can click on the images below to get a close-up of the detail. Painting the Sutton Hoo-style visor on the helmet was fun and really adds character to the figure. I experimented a little with adding 'scars' to the shield (that's what those ugly, out-of-place lines are). Next effort will be better, but I am not upset with the results. The lines are just a little too fat. The chainmail turned out fine, but I am still debating whether to add a cloak to the fellow.


Not only did I use foam for the arms on this figure, but I made the sword from it too. I have been re-thinking which elements should be foam and which should be wood (or some other material). On my upcoming French Napoleonic Carabiniers (1807) you will see some new uses of foam. I am putting the finishing touches on the horse's paint jobs, so it should not be long. But, I will be making their swords from foam too. I decided to try a few foam weapons because of all the "casualties" I have had with my figures so far, it is the wooden swords that have fallen off the most, My theory is that because the wood does not flex, when the figure is accidentally bumped or dropped, all it can do is absorb the impact (i.e. glue holds, but is weakened) or break. The foam will flex, so it should survive. We will see, and I will report on it here.

I have already started building my Anglo-Danish army for Saga. I have the basic figure, helmet, feet, and base for eight Hearthguard and eight Warriors. I am still working on the 12 Levy, but they are almost complete (making them, that is; painting still a ways off). As for an opposing army, that is even further off.

Monday, November 19, 2012

Sutton Hoo Helmet

In the Hats, hats, and more hats article, I created a Dark Ages figure (the one with a round shield) and I admit that it looked a little quirky unpainted. What I was aiming for was something like a 'Sutton Hoo' helmet, as shown in the photos below.


The images below show the results painted up. My gilded moustache and lips are a little bigger, but I think the effect is shown pretty well. Essentially one cut on a stock figure, one cut on a dowel, a little sanding and putty, and you have a Dark Ages figure.


I just need to detail the helmet a little more and finish the body and I will have one fine looking Warlord for Saga and Dux Bellorum.

Tuesday, November 13, 2012

Making Small, Complex Accessories

Although I love working with wood, sometimes it is very difficult making small, complex accessories due to their small size and the dangerous, potentially finger removing tools you work with. In those cases, in the past, I have almost always turn to foam sheet and scissors. But even that can be a problem if the accessory's shape is complex enough. For these tasks I turn to a product called Instant Mold and simple press mold castings. I mentioned this product back in Oct 2011.

First I created an image of the accessory I want to make (which in this) case is an assault rifle and print it out onto card stock paper. I then carefully cut it out (I have a number of scrapbooking scissors which allow you to make tiny cuts) and glue it to a wood craft stick.

Next, carefully cut out the wood part. This is when having the saw bit for your Dremel really comes in handy!

The instructions on the box for using Instant Mold are pretty easy. Heat some water to about 170ยบ, drop the block of Instant Mold in it for about two minutes, carefully pull it out of the hot water, then work with it. In my case I laid the wooden part on a hard surface and dropped the blob on top of it, pressing firmly so that no spaces or gaps appeared. (Unfortunately, one did at the end of the gun barrel, which you can barely see in the image to the right.)

Most tutorials on using Instant Mold recommend using Lego blocks to form a box so that the mold does not flatten out too much. The thinner the mold, the more flexible it will be, and thus the more chance that the casting will be deformed.

If you muck it up, don't worry, as all you have to do is drop the blob back into the hot water and try again.

In order to set the mold material quickly I dropped the mold and part into ice water. This allowed me to quickly handle the mold without concern that I was deforming it.

Once you have a mold to your satisfaction, mix up some two-part ribbon epoxy (otherwise known as Green Stuff) and carefully press it into the mold. In this case you do want the material as thin as possible as any excess on the top will have to be sanded off, so it is not too thick.

Once the Green Stuff has hardened (about a day, depending upon the quality and age of the epoxy), simply flex the mold and pop the part out.

After that, trim the excess Green Stuff off of the part, sand the top side (that was not in the mold), and go ahead and use it.

Very easy to make and cast small, complex shapes using this method. As the mold material is reusable, there is no reason to keep molds around after you are done with them. Simply dump them in the hot water and make a different part.


As you can see above, here is one of the assault rifles painted and in the hands of an African soldier featured in the first picture of the last blog entry, for my AK-47 campaign (that I may eventually get to).

I hope you found this little tutorial instructive. I think you may see more use of Instant Mold by me in the future.

Saturday, November 10, 2012

Hats, hats, and more hats

As I continue to explore more historical periods to make new figures it occurred to me that largely the defining shape of a model soldier is its' hat. With that idea in mind I decided to explore how to make different hat shapes.

I have been thinking about using the Peter Pig's AK-47 rules to run a fictitious campaign in modern (1970's) Africa. The idea is to make two different hats, one for one side and one for the other, in order to easily distinguish each side. (The base uniform color will also be a distinguishing feature.) The first side will have a field cap that looks a cross between a Marine barracks cover and an old Afrika Korps field cap. As I want the creation of it to be minimalist I have decided that the cap's peak will be painted on rather than made as a separate piece as in my Napoleonic shakos.

The cap is made by making one straight cut with a miter saw then making the second cut at 15°. By gluing the back edge of the cap as close to the back edge of the figures head, the front of the cap sticks out as a peak would.

The other side will wear a beret. This is essentially made the same as the hat above, except you use a dowel one size larger than the diameter of the figure. I also cut the piece thinner then I did the hat above.

When gluing the beret to the figure the high side is glued to the left side of the figure's head. This makes the low side stick out on the right in an exaggerated fashion. I then use my Dremel sander to shape the beret taking the hard edges off and thinning out the right side as much as possible.

It is also important to rough up the top of the beret, where the cut is made, as this is usually smooth and glossy.

Be sure to flatten out the front and back of the beret. It should be oval, not circular. The front and back of the beret should be flush with the head; only the right side should overhang.
I use the sander to curve the top of the beret, to round it out. Keep working it until it looks right.
Don't worry about it not being consistent. I work with the US Army – where the beret is standard issue now – and they all wear the just a little bit differently. Some "punch them out", some slick them down to follow the curve of their head, and some have them stick out. Then there is the angle that you wear it at. All this variation just makes it more realistic and gives the figures a certain charm.
Moving back to the Napoleonic period, I wanted to make an Austrian Grenadier's hat. Previously, when I have made Grenadier's hats, I simply used a dowel and cut it appropriately. This is good for a French Old Guard Grenadier's bearskin but less so where the shape needs to be more rounded, or barrel-shaped.

Here I took a barrel bead and cut off the top with a 15° miter saw cut. I then filled the hole with carpenter's wood filler. Later, this will receive a peak, as with a Napoleonic shako.
The first wooden soldier project I ever did, as a kid, was to create medieval knights using beads. Here I created a Crusader knight with a barrel helm. I simply cut a length of dowel and attached it to the figure, which had the majority of the head removed with a miter saw.

As the Dark Ages are becoming very popular right now I started exploring ways to represent simple round metal helmets. You could simply paint the head of the basic figure as if it had a helmet on it, but it does not look exactly right. Most helmets are slightly taller than the head itself when it is not covered. To achieve the correct effect I simply removed a portion of the head and inserted a thin slice of dowel in between the figure and the top. You can either keep the thin slice as is and paint it as a band on the helmet or you can sand the edges down in order to make it a smoother shape.
The figure shows an example where the helmet is smoothed and filled.

With the addition of a front and back peak, this is probably the best way to create a picklehaube.

I started all of this because I was looking to create a few figures for an ACW skirmish game. Of coarse the most common hat in this period is the kepi.

For this I started with the same pattern as the first hat. The difference is that I glued the high end flush to the back of the figure's head.

I then shaped the hat so that the cylinder of the kepi "falls forward", which was the style worn during the ACW. I also sanded a little "dimple" in the top of the kepi to give the crown more definition.

The images below show the sequence of creating the kepi; simply sanding with a Dremel. I make the angle sharper on the back than on the front, but as with the beret, historically the kepi was worn in all manner of form.

The last image shows the method of adding the dimple. I use a round burr bit to remove most of the material, then follow up with a much smaller sanding bit to smooth out the roughness.
Shape the BackShape the FrontEnsure Top is EvenAdd the "Dimple"

I am now experimenting with using foam for the cap peaks. It is not that the wooden ones do not look good, but that they are so time consuming to make. (Not to mention that I tend to sand my fingertips when trying to shape very small bits.)

Add a Foam PeakTrim and Cover with Glue

An interesting variation of the kepi is to make two parallel 15° cuts with the miter saw so that the front and back of the hat is sloped forward. This shape is very similar to a German police officer's cap in the late 19th century and is also reminiscent of a German Jager shako in the Franco-Prussian War.

The last figure is a Zouave in turban (or a Sikh, or any number of Asians that wear turbans). This requires you get a "beehive" bead and carefully cut it in half.

To make the turban look a little better, you need to cut the top of the figure's head at a 15° angle so the turban is high on the forehead and low on the back of the neck.

For Indian turbans, like Bengal lancers, you can add a foam rectangle to the back to represent the end hanging down.

Well, I hope you have found this instructive. My next project is to show how to make small accessories that are hard or tedious to duplicate in wood, such as an assault rifle (to go with my beret-wearing African troops).

See you next time!

Saturday, September 15, 2012

Experimenting with Foam Tricornes

As many people know I like the American Revolutionary period. I have many units in 15 mm painted up that I use with various rules, but despite my joy in building and painting my wooden soldiers, I have not done this period in wood simply because of the tricorne hat. All of my previous attempts have not been satisfactory. This time I think I may have it.

I started by using a drafting circle template to draw a circle on a foam sheet. I figured out which circle to use by simply holding the wooden figures head inside of the circles in the template until I found one the right size for the hat and another for the hole in the center where the head would go. I then cut the larger circle out of the foam and the smaller circle out of the center of the larger circle.


The next step was to pull the foam down over the head to the neck. Note that the center hole is slightly smaller than the diameter of the head, so the hole  stretches and then snaps back.


It is important to pull down and then pull back up because you want the cupping of the hat to go upward, as in the figure below. Make sure the bottom is as even as possible, unless you are going for a cocked hat look (which is always good for variation).


Carefully use thinned white glue to keep the hat in place. Note that I used a micro brush applicator to lay down the glue and to sop up some of the excess (after this picture was taken).


Here are the micro brush applicators that I use. These were purchased from Micromark and although they are very expensive, I have had these for awhile and typically reuse them. (They also served as scrap plastic. I used one as the telescope for my French Napoleonics artillery officer.)


After the glue has set enough for the hat not to move, but before completely dry, I added two spots of Gorilla Glue Superglue to glue the sides to the head. You can start to see the three corners taking shape, which is where the tricorne name ("tri-cornered hat") comes from.


A little more superglue on the rear to bring up that flap.


Yet more superglue on the front-left and front-right to get more of a "point" on the front corner.


Here is the tricorne painted up, giving you a better idea of how it looks.

Front ViewSide ViewRear View

If you are a tricorne aficionado you will probably note that it is closer in appearance to earlier tricornes (War of Spanish Succession, Great Northern War, War of Austrian Succession, etc.) and less like that in the American War of Independence. I strongly suspect that the pattern for tricornes (or bicornes, for that matter) is not a perfect circle, but an elliptical shape. I would require more study.

So, am I going to get into a new period? No, not yet. I need to get more Napoleonic troops ground out and "finish" that period. Like my work with using foam for arms, I would need to make a template for the tricorne in order to ease the process of making a large number of them. For now, it is simply an interesting experiment and something to tuck away for future use.

I will probably use this same technique to make big floppy hats for Musketeers, a skirmish period I have wanted to game in for awhile.

Contributors

Followers

Blog Archive

Popular Posts

Labels I Use in Posts