Saturday, September 15, 2012

Experimenting with Foam Tricornes

As many people know I like the American Revolutionary period. I have many units in 15 mm painted up that I use with various rules, but despite my joy in building and painting my wooden soldiers, I have not done this period in wood simply because of the tricorne hat. All of my previous attempts have not been satisfactory. This time I think I may have it.

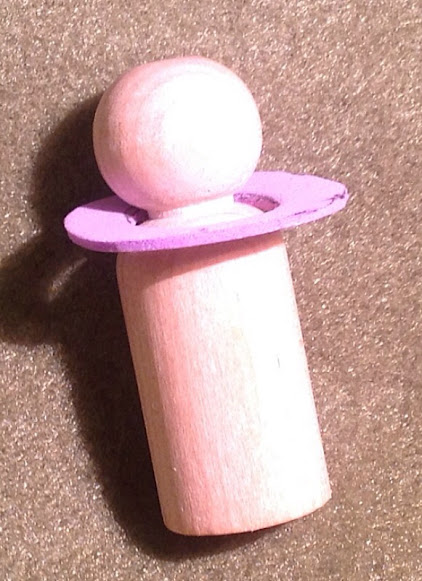
I started by using a drafting circle template to draw a circle on a foam sheet. I figured out which circle to use by simply holding the wooden figures head inside of the circles in the template until I found one the right size for the hat and another for the hole in the center where the head would go. I then cut the larger circle out of the foam and the smaller circle out of the center of the larger circle.


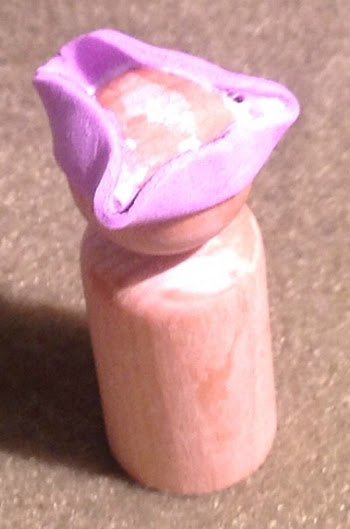
The next step was to pull the foam down over the head to the neck. Note that the center hole is slightly smaller than the diameter of the head, so the hole  stretches and then snaps back.


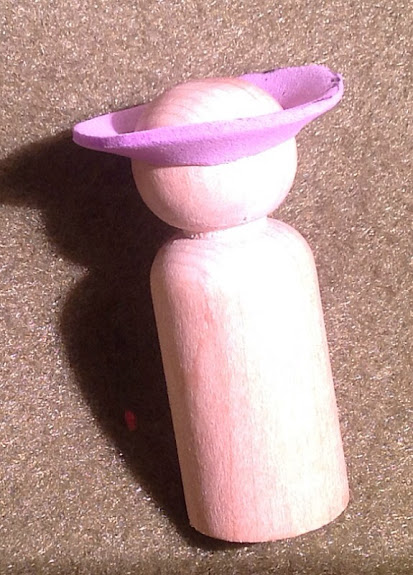
It is important to pull down and then pull back up because you want the cupping of the hat to go upward, as in the figure below. Make sure the bottom is as even as possible, unless you are going for a cocked hat look (which is always good for variation).


Carefully use thinned white glue to keep the hat in place. Note that I used a micro brush applicator to lay down the glue and to sop up some of the excess (after this picture was taken).


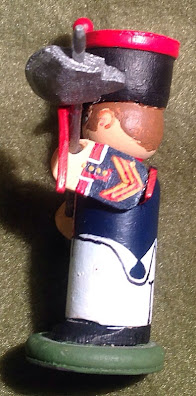
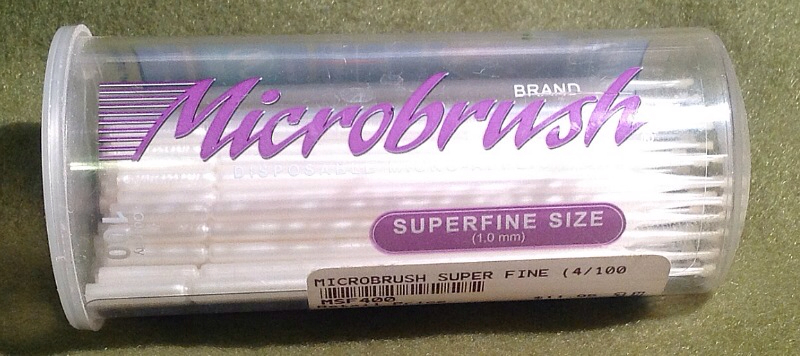
Here are the micro brush applicators that I use. These were purchased from Micromark and although they are very expensive, I have had these for awhile and typically reuse them. (They also served as scrap plastic. I used one as the telescope for my French Napoleonics artillery officer.)


After the glue has set enough for the hat not to move, but before completely dry, I added two spots of Gorilla Glue Superglue to glue the sides to the head. You can start to see the three corners taking shape, which is where the tricorne name ("tri-cornered hat") comes from.


A little more superglue on the rear to bring up that flap.


Yet more superglue on the front-left and front-right to get more of a "point" on the front corner.


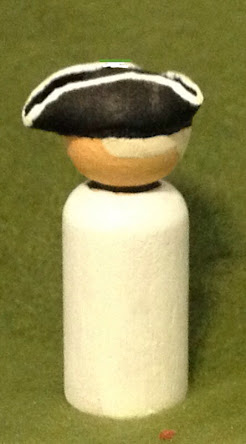
Here is the tricorne painted up, giving you a better idea of how it looks.

Front ViewSide ViewRear View

If you are a tricorne aficionado you will probably note that it is closer in appearance to earlier tricornes (War of Spanish Succession, Great Northern War, War of Austrian Succession, etc.) and less like that in the American War of Independence. I strongly suspect that the pattern for tricornes (or bicornes, for that matter) is not a perfect circle, but an elliptical shape. I would require more study.

So, am I going to get into a new period? No, not yet. I need to get more Napoleonic troops ground out and "finish" that period. Like my work with using foam for arms, I would need to make a template for the tricorne in order to ease the process of making a large number of them. For now, it is simply an interesting experiment and something to tuck away for future use.

I will probably use this same technique to make big floppy hats for Musketeers, a skirmish period I have wanted to game in for awhile.

Not Quite a Standard Bearer

Here is another figure I have been working on for quite some time now. As I could not find a properly scaled French Napoleonic standard, I went with a porte fanion to represent my French Napoleonic standardbearer.

FrontSideRear
He is pretty much standard as far as the build techniques, however I decided to put the halberd through his hands allowing for a different pose. All in all a nice clean figure and paint job.

I am, however, looking for a 40 mm or 50 mm scale French Napoleonic standard. There are some to be purchased but I am trying to find a free one that can scale up. If so, I can paint a proper standardbearer and use this figure as a guard. Nothing like having a veteran armed with pistols and a halberd in Songs of Drums and Shakos.

Tuesday, September 11, 2012

Some French Artillerymen - Finally!

I have finally finished some French artillerymen for the cannon I built quite sometime ago. Okay, so "finished" is a relative term; I still have to make a bucket for one of the figures.

I am definitely experimenting more with craft foam, especially in making arms. The ramrod is simply a thin wooden dowel with two cylindrical beads glued on each end.

The officer's spyglass is a simple piece of plastic scrap, as is the linstock (which is really too short). But it was my first crack at it, so I will probably improve it over time.

The French artillerymen's uniform is rather nice during the Napoleonic period. This is really a novelty piece and one that will probably not get much play given that most of my Napoleonic games are at the skirmish level. Given all of the handcrafting that went into the cannon, if I had to make a large number of them I would probably go crazy (or more probably, never finish).

By the way, this was the first blog entry in which all pictures were taken with, and edited on, the iPad, along with writing the blog entry itself. Pretty handy!

Contributors

Followers

Blog Archive

Popular Posts

Labels I Use in Posts