Because it is Air-compatible you can print from your computer over Bluetooth. So naturally, with the Spanish 1808 project ahead of me, I decided to grind out some bicornes. First, I created a digital version of the plastic template I made.
The Cricut comes with its own Design Space software which runs in your browser. I was using Google Chrome on a Mac and had no issues with the software. After creating an account, logging in, and creating a new project, you upload the image into your project.
The graphic came in oversized – this is typical with this type of software – so I resized it. As you dragged the resize handle it automatically kept the shape proportion, so nothing fiddly there.
I then copied and pasted in several more bicornes to fill up the page. Note in the graphic about that the shape is intended to be cut out (the little scissors icon). It took me a while to figure that one out. My first attempt it kept trying to print the shapes.
There are a number of things you can do with a shape. Coloring is so that you can discern different shapes on different layers. You can also mix and match action by having some shapes cut and some score. This is useful for paper modeling, which needs to support both.
When you hit the 'Go' button it brings up a preview screen. As it turned out, meticulously positioning all of the shapes did not matter; it rearranged them to maximize use of the page. I think it was able to do this because I was choosing an odd size (4" by 6") and because everything was on the same layer.
I positioned my foam sheet on the adhesive mat provided. Note that the mat is gummy and designed so the material stays in place while the cutter is operating. Note the damage I have already made to my new mat with scribbles and cuts on it already.
Once everything is ready, you click the 'Go' button on the screen. The 'Load' button on the Cricut flashes, so you press it and the mat and your material is pulled into the machine. (Note: the mat moves forward and back; the cutter only moves left and right. This machine needs a lot of table space!)
There is a knob on the Cricut to indicate how thick the material you are cutting is. Initially I set it to the highest value and I noticed some tearing. I paused it in the middle and reset the thickness to 'Custom' and then the cuts smoothed out. After I finished the job I could see yet more cuts in my mat from where I had the setting too high. All of the bicorne halves popped right out of the sheet, however.
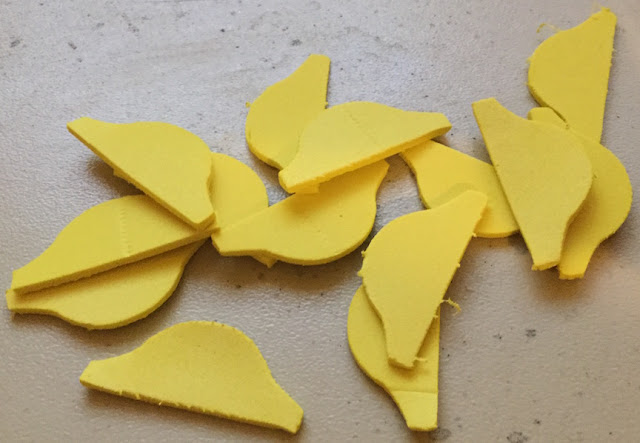
A little bit of trimming for those first ones with a pair of sharp craft scissors will get rid of the jaggedness. No worries. You can see the one in the bottom center has a dent where the roller went over it. This might not be good if you need both sides of the foam to look pristine, but if one side is not shown, the end result will be fine.
So in the span of a few minutes of cutting, I have 14 halves. Enough for seven bicornes. When I get a little more efficient with my cutting, and create a few more digital templates, I should be able to quickly and consistently make arms, legs, weapons, plumes, epaulettes, and more.
I also bought some adhesive backed vinyl to experiment with. I am already thinking about the possibilities there.
UPDATE: This is why I cannot complete project! I cannot leave well enough alone. Rather than simply being a bicorne factory for my 42mm troops I start wondering. What if I scale the size down even more, can I make a bicorne small enough to fit my 12mm troops? Can the Cricut cut something that small and intricate? Can I glue something that small without gluing my fingers to the model too?
Let's stop wondering and try!


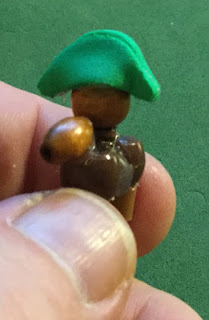
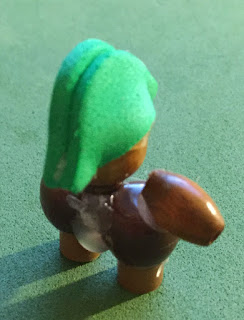
Yup! That is a bicorne on a 12mm bead cavalryman. It may be a little oversized, but I like my figures cartoony and this is still doable with my sausage fingers.
Must ... not ... start ... new ... project!


Uh-oh, Dale has a new toy! All bets are off now! I think the bicorne looks great even on the 12mm guy. It is amazing that it can cut that precise with that material. I am sure your creative juices are flowing now!
ReplyDeleteWould assembly be more efficient if the bicorne halves were connected at the top (side?) so that they could be folded over?
ReplyDeleteThe top needs to be open, but you might be right about folding. I might put the bottoms together and make a cut for the head. Something to try.
Delete